When the first cold snap hits, the difference between a cozy home and a drafty, expensive one comes down to preparation. Learning how to winterize your house is one of the smartest maintenance projects a homeowner can tackle each fall. A well-winterized home keeps warm air in, cold air out, and your heating system from working overtime — which means lower energy bills and fewer midwinter emergencies.
Winterizing is not just about comfort. Frozen pipes can burst and flood a basement, ice dams can damage a roof, and a neglected furnace can fail on the coldest night of the year. The good news is that most winterizing tasks are inexpensive, DIY-friendly, and take a single weekend. This guide walks you through exactly how to winterize your house with 15 proven steps — so you can head into winter confident your home is ready.
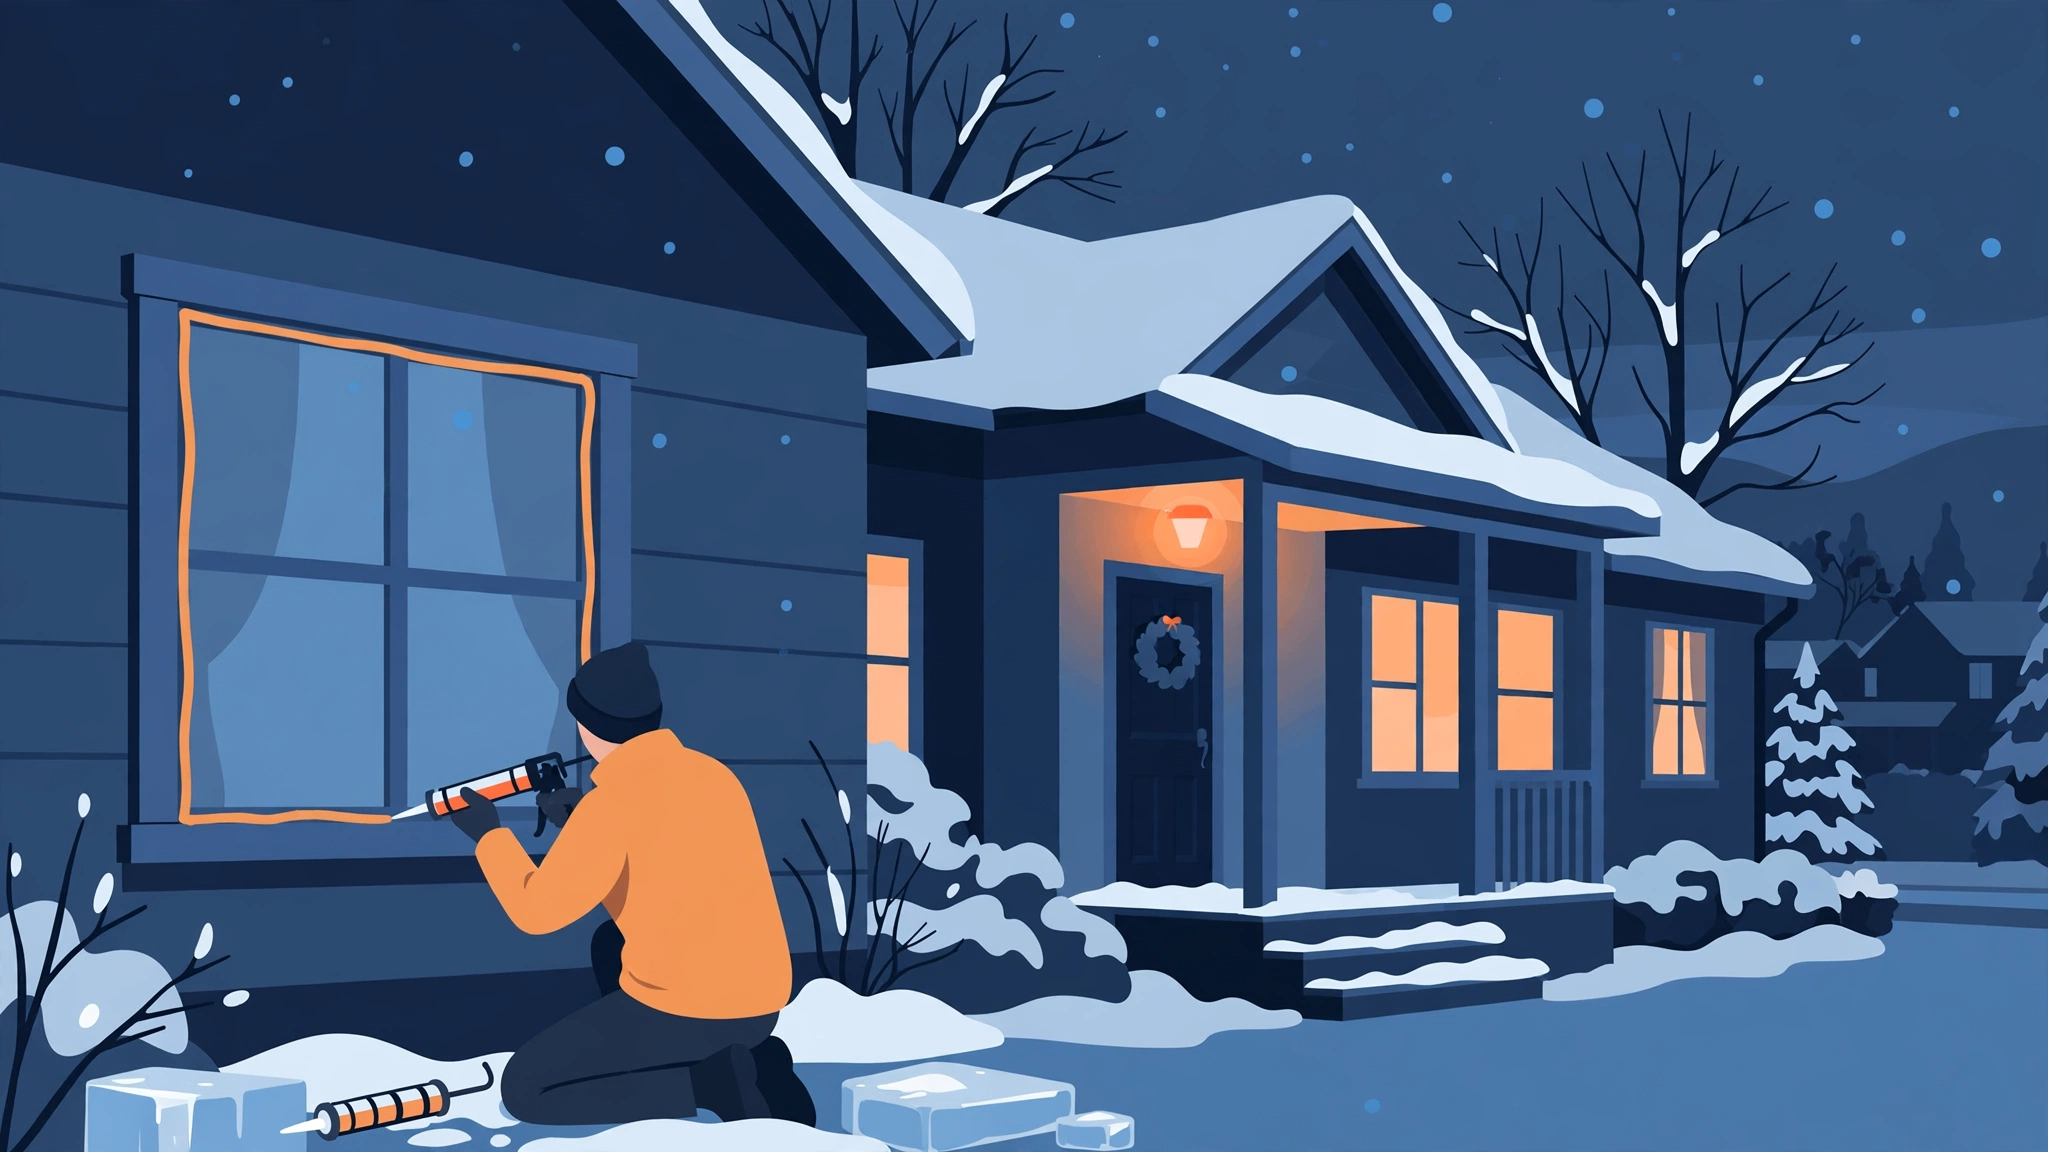
Table of Contents
Why Learning How to Winterize Your House Pays Off
Knowing how to winterize your house pays you back every single winter. According to ENERGY STAR, sealing air leaks and adding insulation can save homeowners up to 15% on heating and cooling costs — a significant cut when heating is one of the largest household expenses in cold-climate states. A tube of caulk and a few rolls of weatherstripping can pay for themselves before January.
Beyond the savings, winterizing protects your investment. Water damage from burst pipes is one of the costliest homeowner insurance claims in the United States, and most of it is preventable. Ice dams, cracked foundations from poor drainage, and dead landscaping all trace back to maintenance skipped in the fall. A weekend of winterizing now prevents repairs that can cost thousands later.
There is also a comfort dividend. Drafty rooms, cold floors, and a furnace that runs constantly make winter miserable. Once you winterize your house properly, rooms stay at an even temperature, the heating system cycles normally, and you stop piling on blankets to watch television.
When Should You Start?
Start learning how to winterize your house in early to mid-fall, well before the first freeze. In northern states, aim for September or October; in milder southern regions, November is usually fine. Starting early also gives you time to book a furnace tune-up before technicians fill their fall schedules.
The key is to finish exterior work — caulking, gutter cleaning, outdoor plumbing shutoffs — before temperatures drop below freezing. Watch your local forecast for the first predicted frost. Once overnight lows approach 35°F, treat every remaining task on your how-to-winterize-your-house plan as urgent.
Seal Air Leaks: How to Winterize Your House Against Drafts
Air leaks are the single biggest source of heat loss in most American homes. The U.S. Department of Energy estimates that air leaks can account for a quarter or more of the energy used to heat a home. Draft-proofing is the fastest, cheapest win when you are learning how to winterize your house, so it is the natural first phase of the project.
1. Weatherstrip Windows and Doors
Run your hand around window and door frames on a windy day to feel for drafts. Apply adhesive-backed foam weatherstripping or V-strip tension seals to any frame where you feel air movement. For double-hung windows, press the strips into the sash channels; for doors, run them along the jamb and header. This is a thirty-minute job per opening and one of the highest-return tasks when you winterize your house.
2. Caulk Exterior Gaps and Cracks
Inspect the outside of your home where different materials meet — siding and trim, foundation and siding, vents and pipes passing through walls. Use exterior-grade silicone caulk for these gaps. A $7 tube of caulk can seal dozens of small leaks that collectively bleed heat all winter, making it one of the cheapest steps when you winterize your house.
3. Install Door Sweeps
The gap under an exterior door can leak as much air as a small open window. Slide-on or screw-mounted door sweeps close that gap in minutes. Check the garage door too — a worn bottom seal on a garage door lets frigid air into an attached garage, chilling the rooms above and beside it. Sealing it is a small but important part of how to winterize your house.
Insulate Your Home for Winter
After sealing leaks, insulation is the next pillar of how to winterize your house. Insulation slows heat transfer, so the warmth your furnace produces stays inside longer.
4. Boost Attic Insulation
Heat rises, and an under-insulated attic is like leaving the roof off your home. Check your attic: if you can see the tops of the ceiling joists, you need more insulation. The Department of Energy recommends R-38 to R-60 in attics for most cold-climate zones — roughly 10 to 17 inches of blown fiberglass or cellulose. Topping up attic insulation is one of the highest-impact answers to how to winterize your house.
5. Insulate Exposed Pipes in Cold Zones
Pipes running through unheated spaces — attics, crawlspaces, garages — are prime freeze candidates. Slip foam pipe sleeves over them; the pre-slit tubes install in minutes with no tools. This small step matters enormously when you winterize your house, because frozen pipes burst, and a burst pipe can release gallons of water per minute into your home.
6. Wrap the Water Heater
If your water heater is more than a few years old, an insulating blanket cuts standby heat loss by 25–45%, according to the Department of Energy. The blankets cost about $25 and strap on in under an hour. Skip this step for newer high-efficiency units or gas heaters with clearance warnings — always follow the manufacturer’s guidance. It is a quick win in any plan for how to winterize your house.
Heating System: Prepare Your Furnace and Thermostat
A furnace failure in January is a genuine emergency. Part of how to winterize your house is making sure the heating system is serviced, clean, and efficient before the season starts.
7. Schedule a Furnace Tune-Up
Have an HVAC technician inspect and service your furnace or boiler each fall. They will clean the burners, check the heat exchanger for cracks, test safety controls, and measure efficiency. A cracked heat exchanger can leak carbon monoxide — a silent killer — so this is as much a safety step as a maintenance one. Book early; technicians fill their fall schedules fast, and a serviced furnace is central to how to winterize your house safely.
8. Replace Furnace Filters
A clogged filter forces your blower to work harder, raises energy use, and can even cause the furnace to overheat and shut down. Replace disposable filters or clean washable ones at the start of the heating season, then monthly through winter — a simple habit at the heart of how to winterize your house. Keep a spare filter on hand so there is no excuse to run a dirty one.
9. Install a Programmable or Smart Thermostat
If you still have a manual thermostat, upgrade. A programmable or smart thermostat automatically lowers the temperature while you sleep or are at work, then warms the house before you return. ENERGY STAR notes that proper thermostat management can save real money across a heating season. Set it to 68°F when home and lower when away — every degree you drop for eight hours saves on fuel. Smart thermostat control is an easy, modern answer to how to winterize your house.
Winterize Your Plumbing Before the Freeze
Plumbing damage is the most expensive consequence of skipping winter prep, which is why plumbing protection gets its own section in any guide on how to winterize your house.
10. Shut Off and Drain Outdoor Water
Disconnect garden hoses — a connected hose can trap water in the line and freeze back into the house. Shut off the interior valve to each outdoor faucet, then open the outside faucet to drain the line. If your home has a sprinkler system, blow it out with compressed air or have a landscaping company do it. This is one of the most commonly forgotten steps in how to winterize your house.
11. Know Your Main Water Shutoff
Locate your home’s main water shutoff valve now, before you need it in a panic. It is usually in the basement, crawlspace, or near the water meter. Test it to make sure it turns freely, and show every adult in the household where it is. If a pipe does burst, shutting off the water in seconds instead of minutes is the difference between a mop-up and a renovation.
12. Protect Indoor Pipes in Cold Spots
Beyond insulating pipes, keep cabinet doors open under sinks on exterior walls during extreme cold so warm air reaches the pipes. Let faucets drip slightly on the coldest nights — moving water is far less likely to freeze. And if you leave town, never set the thermostat below 55°F; those heating dollars are cheap insurance when you winterize your house and head out. While you are checking taps, fix any slow drip now — our guide on how to fix a leaky faucet walks through the repair in about thirty minutes.
Roof, Gutters, and Yard Winterizing
The outside of your home takes the full force of winter weather. Finishing these exterior tasks completes how to winterize your house from top to bottom.
13. Clean Gutters and Downspouts
Clogged gutters are the main cause of ice dams — ridges of ice that force meltwater under shingles and into your attic. Scoop out leaves and debris, flush the gutters with a hose, and confirm downspouts direct water at least four feet from the foundation. Consider gutter guards if your home sits under heavy tree cover. Clean gutters are essential when you learn how to winterize your house properly.
14. Inspect the Roof and Trim Trees
From the ground with binoculars (or safely from a ladder), look for missing, cracked, or curling shingles and damaged flashing around chimneys and vents. Small repairs now prevent leaks under snow load. Trim back tree branches that overhang the roof — heavy snow and ice can snap them onto shingles, and falling limbs are a leading cause of winter roof damage. A quick roof check each fall belongs in every guide to how to winterize your house.
15. Service Outdoor Equipment and Protect Plants
Drain the fuel from lawn mowers and other small engines or add fuel stabilizer, then store them dry. Bring in or cover patio furniture and grills. Mulch around shrubs and young trees to insulate roots, and wrap vulnerable evergreens in burlap if your region gets heavy snow. Finally, stock up on ice melt and keep snow shovels accessible — the first storm always arrives earlier than expected. Stocking up early is the finishing touch on how to winterize your house.
Your Final Winterizing Checklist
Before you call the job done, walk through this quick checklist to confirm you know how to winterize your house completely:
- Windows and doors weatherstripped, exterior gaps caulked, door sweeps installed
- Attic insulation checked and topped up; water heater wrapped
- Furnace serviced, filters replaced, thermostat programmed
- Outdoor water shut off and drained; main shutoff located and tested
- Exposed pipes insulated; cold-spot sinks prepped for deep freezes
- Gutters cleaned, roof inspected, overhanging branches trimmed
- Outdoor equipment serviced, ice melt and shovels ready
If you tackled interior wall repairs while sealing up — patching nail holes and small dents is a classic fall project — our guide on how to repair drywall holes covers the full technique step by step.
Frequently Asked Questions
How much does it cost to winterize a house?
A DIY winterizing project typically costs $100–$300 in materials: caulk, weatherstripping, door sweeps, pipe insulation, filters, and gutter cleaning supplies. A professional furnace tune-up adds roughly $80–$150. Compared to a single burst-pipe repair, which can easily exceed $5,000, winterizing is one of the cheapest forms of home protection there is.
How long does it take?
Most homeowners can complete all 15 steps in one to two weekends — a Saturday for exterior work and a Sunday for interior work. The furnace tune-up is scheduled separately with a technician.
Can I winterize my house myself, or do I need a professional?
Nearly everything in this guide is DIY-friendly with basic tools. The two tasks worth hiring out are the furnace tune-up and any roof work above a single story — both involve safety risks that justify professional help.
What happens if I skip winterizing?
Skipped winterizing leads to higher heating bills, burst pipes, ice dams, furnace breakdowns, and water damage. Homeowners who winterize their house each fall consistently report fewer emergency repairs and lower winter energy costs — it is simply the cheapest protection you can buy.
Should renters winterize too?
Renters can handle the easy wins: weatherstripping, door sweeps, thermostat management, and reporting drafts or pipe concerns to the landlord. Structural tasks like attic insulation and furnace service are the landlord’s responsibility — but asking about them is always worthwhile.
Final Thoughts
Learning how to winterize your house is not glamorous, but few projects deliver a better return on a weekend of work. Fifteen steps — seal the leaks, insulate the weak spots, service the heat, protect the pipes, and button up the exterior — and your home will ride out winter warmer, cheaper, and safer. Start early in the fall, work through the checklist methodically, and make it an annual ritual. Your future self, watching snow fall outside a warm, quiet house, will thank you.
Pingback: How to Improve HVAC Airflow: 9 Proven Fixes for Better Home Comfort
Pingback: How to Fix a Roof Leak: 10 Proven Steps to Stop Leaks Fast
Pingback: How to Install a Ceiling Fan: 9 Proven Steps for a Safe, Quiet Install
Pingback: How to Clean Air Conditioner Coils: 8 Proven Steps for Efficient Cooling
Pingback: How to Clean HVAC Condensate Drain: 8 Proven Steps
Pingback: How to Test Smoke Detectors: 7 Proven Steps for a Safer Home
Pingback: How to Fix a Drafty Window: 8 Proven Steps to Stop Cold Air - Fixora Works
Pingback: Winterize Outdoor Faucets: 7 Proven Steps to Prevent Burst Pipes - Fixora Works
Pingback: How to Thaw Frozen Pipes: 7 Proven Steps to Prevent a Burst