If you’re wondering how to install a toilet yourself, here’s the good news: it’s one of the most approachable plumbing projects a homeowner can tackle. No soldering, no permits in most areas — just unbolting the old unit, preparing a clean seal, and setting the new one level and tight. Most first-timers finish in two to four hours and save $200 or more over hiring a plumber.
This guide on how to install a toilet walks you through every step: shutting off the water, removing the old toilet, inspecting the closet flange, setting a fresh wax ring, bolting down the new bowl, reconnecting the supply line, and testing for leaks. You’ll also get a tools list, the five mistakes that cause most DIY leaks, and answers to common questions. If your current toilet clogs constantly, our guide on how to unclog a toilet may solve the problem without a replacement.
Table of Contents
What to Know Before You Learn How to Install a Toilet
Replacing a toilet is a moderate DIY project — no plumbing license required in most U.S. jurisdictions for a straightforward swap, though you should always check local building code. Budget two to four hours for your first attempt. The job rewards patience more than strength: porcelain cracks easily, and the wax ring only seals if seated correctly the first time.
Before buying, measure your rough-in — the distance from the finished wall to the center of the closet flange bolts. Most U.S. bathrooms use 12 inches; 10- and 14-inch versions are less common. The wrong rough-in is the most common reason a new toilet won’t fit. Also choose between standard and comfort height, and consider a water-saving model (1.28 gallons per flush or less). Once the right toilet is home, learning how to install a toilet is just working the steps below in order.
Tools and Materials You Will Need
Gather everything before you start so you aren’t hunting for tools mid-job:
- New toilet (bowl, tank, seat, and included hardware)
- Wax ring (standard, or extra-thick if the flange sits below floor level)
- New closet bolts with washers, nuts, and bolt caps
- New braided stainless-steel water supply line (don’t reuse the old one)
- Adjustable wrench and a small socket wrench set
- Putty knife and a plastic scraper
- Mini hacksaw (for trimming closet bolts)
- Sponge, bucket, and old towels
- Rubber gloves
- Rag (to plug the drainpipe)
- Carpenter’s level and wood shims
- Silicone bathroom caulk and caulk gun
How to Install a Toilet in 9 Proven Steps
Step 1 — Shut Off the Water and Drain the Tank
The first rule of how to install a toilet safely is to stop the water before touching anything. Turn the shut-off valve behind the toilet clockwise until fully closed. Flush to empty the tank, then hold the handle down to drain the bowl. Sponge the remaining water into a bucket — leftover water always finds the floor if you skip this. If the shut-off valve is frozen, use your home’s main water shut-off instead.
Step 2 — Disconnect the Supply Line and Remove the Old Toilet
Set a bucket under the supply connection and unscrew the supply line from the tank — usually by hand or with an adjustable wrench. Pop the caps off the closet bolts and remove the nuts and washers. Rock the toilet gently to break the old wax seal, then lift straight up with your legs (toilets weigh 60–100 pounds) and set it on a towel. Stuff a rag into the exposed drainpipe to block sewer gases. When you learn how to install a toilet, this is the messiest part — and it’s already behind you.
Step 3 — Inspect and Clean the Closet Flange
Scrape every trace of old wax off the flange with a putty knife until the metal or PVC is clean. Knowing how to install a toilet starts below the floor line: the closet flange must be intact, level with or slightly above the finished floor, and firmly anchored. If it’s cracked, corroded, or more than a quarter inch below floor level, repair or replace it first — no wax ring compensates for a broken flange. Tighten loose flange screws while you’re there.
Step 4 — Install New Closet Bolts
Every reliable guide on how to install a toilet insists on new closet bolts: old ones corrode and snap under load. Slide new bolts into opposite flange slots so they point straight up, using the plastic retainers to hold them upright. Re-measure the rough-in now — 12 inches from wall to bolt centers is standard — because catching a mismatch here saves you from setting a toilet that can’t reach the wall.
Step 5 — Set the Wax Ring
The wax ring is the watertight heart of how to install a toilet correctly, so don’t rush. With the room at a comfortable temperature (cold wax is stiff), press the ring firmly onto the flange, centered on the drain — not onto the toilet’s underside. Standard rings suit flanges level with the floor; use extra-thick if the flange sits slightly below. Wax-free silicone seals are reusable and forgiving, but classic wax remains the plumber’s default.
Step 6 — Lower the Toilet Onto the Flange
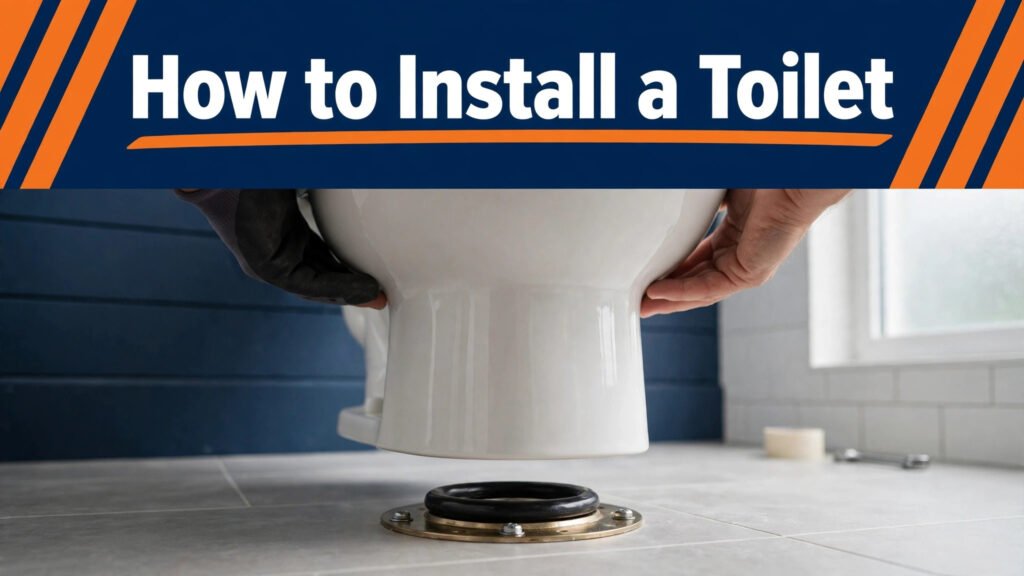
This is the moment of truth in learning how to install a toilet: remove the rag from the drainpipe, align the bowl’s base holes with the upright bolts, and lower the toilet straight down in one smooth motion. Your body weight compresses the wax ring to form the seal — rock gently if needed, but never lift and reposition, because a disturbed wax seal must be replaced. Press down firmly on the bowl to fully compress the wax.
Step 7 — Tighten the Bolts and Level the Bowl
A critical detail of how to install a toilet is bolt tension: snug, not heroic. Fit washers and nuts on the closet bolts and tighten alternately, a little at a time, until the bowl is stable. Check with a level and shim any rocking corner. Overtightening is the top way DIYers crack porcelain — when the nut stops turning easily, stop. Trim excess bolt length with a mini hacksaw and snap on the caps.
Step 8 — Attach the Tank, Seat, and Supply Line
With the bowl set, how to install a toilet continues up top. Set the tank on the bowl with the tank-to-bowl gasket in place, insert the brass tank bolts, and tighten evenly until the tank sits level without rocking — gentle pressure only. Attach the seat with its hardware. Connect the new braided supply line to the fill valve (hand-tight plus a quarter turn) and to the shut-off valve. If the fill valve misbehaves later, see our guide on how to fix a running toilet.
Step 9 — Turn On the Water and Test for Leaks
The final step of how to install a toilet is testing. Open the shut-off valve slowly and let the tank fill. Watch the base, tank bolts, and supply connections through several flushes — a dry floor after five full flushes means success. A drip at the base means the wax ring didn’t seat; you’ll need to pull the toilet and use a fresh ring (pros keep a spare). Finish with a bead of silicone caulk around the front and sides, leaving the back open so a future leak reveals itself. We cover caulking technique in our guide on how to caulk a bathtub.
Mistakes to Avoid When Learning How to Install a Toilet
Even homeowners who know how to install a toilet make these errors:
- Reusing the wax ring. Wax seals are single-use. Lift the toilet after seating it and you need a fresh ring.
- Overtightening bolts. Porcelain has no flex. Snug closet and tank bolts gradually; stop at real resistance.
- Ignoring the flange. A cracked or below-floor flange guarantees a rocking, leaking toilet. Fix it first.
- Reusing the old supply line. A $10 braided stainless line is cheap insurance against the most common bathroom flood source.
- Caulking the entire base. Caulk the front and sides, but leave the back open so a seal failure shows as a visible drip instead of silently rotting the subfloor.
Frequently Asked Questions
Here are answers to the questions people ask most about how to install a toilet.
How long does it take to install a toilet?
Expect two to four hours for a straightforward replacement, including cleanup. Your first attempt runs longer because of flange inspection and leveling. Add an hour if you find a damaged flange or a corroded shut-off valve that needs replacing.
Can I install a toilet by myself?
Yes. The only awkward part is the heavy lift — the bowl weighs 60–100 pounds. A second person helps with lowering it onto the bolts, but the job is entirely doable solo with care and proper lifting form.
Do I need a plumber to install a toilet?
For a direct replacement on a sound flange, no. Call a plumber if the flange is broken, the drainpipe is damaged, the subfloor is rotted, or your local code requires a permit and inspection for fixture replacement.
How much does it cost to install a toilet yourself?
A quality toilet runs $150–$400, plus $20–$40 in supplies (wax ring, bolts, supply line, caulk). Hiring a plumber typically adds $150–$300 in labor, so DIY saves roughly half the total project cost. The savings are real — as long as you respect the seal and the porcelain.
Wax ring or wax-free seal — which is better?
Traditional wax rings are the time-tested standard and cost a few dollars. Wax-free silicone seals cost more but are reusable and repositionable — forgiving for first-timers. Either works with a sound flange; the bowl’s stability matters more than the seal type.
Final Thoughts
Now you know how to install a toilet from start to finish: shut off the water, pull the old unit, prep the flange, set a fresh wax ring, lower the bowl straight down, tighten with restraint, and test before you caulk. The flange and the wax seal decide whether your new toilet lasts decades or leaks in a month. For a photo walkthrough of each stage, see This Old House’s water-saving toilet installation guide — their pro tips on wax-ring seating are worth a read.
Pingback: Bathroom Remodeling: 7 Smart Ways to Plan a Beautiful Renovation - Fixora Works