Learning how to install shiplap is one of the fastest ways to transform a plain room into a warm, character-filled space. A single shiplap accent wall adds texture, depth, and farmhouse charm without a full remodel, and most homeowners can finish the job in a weekend with basic tools.
In this guide, you will learn exactly how to install shiplap from start to finish. We cover measuring, choosing boards, finding studs, cutting around outlets, nailing each row level, and finishing the wall so the finished wall looks professionally done.
Table of Contents
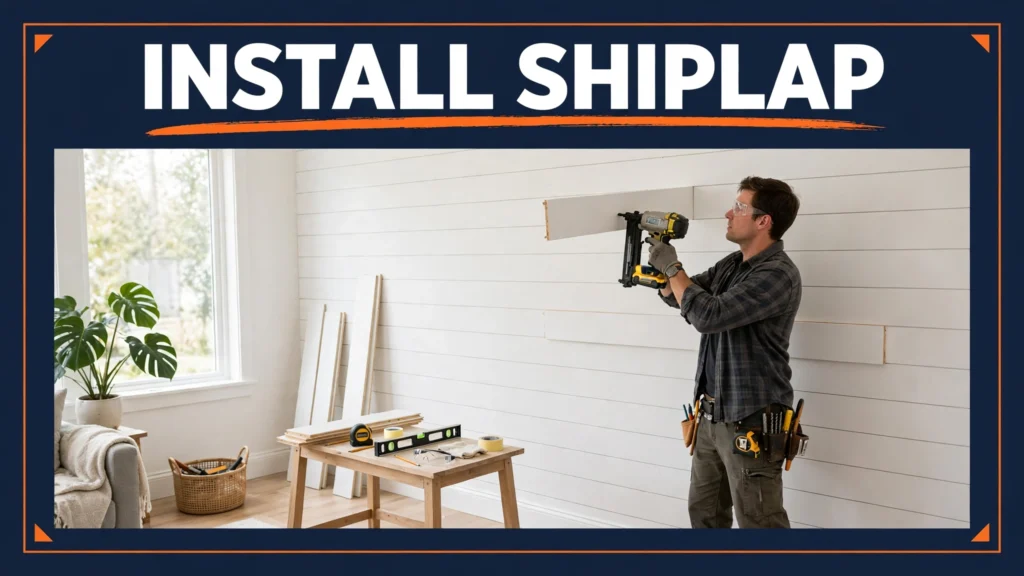
What Is Shiplap and Where Does It Work Best?
Shiplap is a style of wooden board with a rabbet, a small notch cut along each long edge. The notch lets each board overlap the one below it, creating the clean shadow line that defines the shiplap look. Originally used on barns and coastal homes, shiplap is now a popular interior wall treatment.
An accent wall works best in a living room, bedroom, entryway, or dining room. It also suits a fireplace surround, a hallway, or the wall behind a bed.
Tools and Materials You Need
Gather everything before you start so the job flows without trips to the store. You will need shiplap boards, a brad nailer or finish nailer, a stud finder, a 4-foot level, a tape measure, a miter saw, a jigsaw, a pencil, painter’s tape, construction adhesive, wood filler, paintable caulk, primer, and paint.
For materials, choose pre-primed pine or MDF boards for most interior walls. Pine looks more authentic and holds up better over time, while MDF costs less and paints smoothly.
How to Install Shiplap: Planning and Measuring
Good planning is what separates a crisp shiplap wall from a wavy one. Start by measuring the height and width of your wall in inches, then divide the height by the exposed face of your boards to find how many rows you need.
Decide whether to run boards horizontally or vertically. Horizontal boards make a room feel wider, while vertical boards draw the eye upward and make ceilings feel taller. For a first project, horizontal boards are easier because gravity helps each row sit on the one below it.
Prepare the Wall Before You Start
Remove outlet covers, switch plates, and any wall decor, and patch holes or cracks with spackle. Sand the patches smooth once dry, then wipe the wall clean so adhesive and caulk bond well.
Next, as part of how to install shiplap correctly, find the studs with a stud finder and mark each one lightly with a pencil from floor to ceiling. If you are unsure about the technique, our guide on how to use a stud finder walks through the process step by step.
How to Install Shiplap Step by Step
Follow these nine steps for how to install shiplap in order, and check each row with a level before nailing.
Step 1: Mark a Level Starting Line
Decide whether to start at the top or the bottom of the wall. Starting at the bottom is common, but starting at the top avoids a narrow ripped board at eye level. Either way, draw a level line for your first row and measure down or up from it to confirm your rows will end evenly.
Step 2: Cut the First Board to Length
Measure the wall width and cut your first board to fit, leaving a small expansion gap of about one-eighth inch at each end. Trim pieces will cover these gaps later, so a slightly short board is better than one that bows.
Step 3: Nail the First Board Into the Studs
To learn how to install shiplap properly, hold the first board on your level line and nail it into every stud with two brad nails per stud, one near the top edge and one near the bottom. Drive nails at a slight angle for a stronger hold. If your wall has few studs in range, add a bead of construction adhesive for extra grip.
Step 4: Keep Each Row Level as You Go
In any how to install shiplap guide, set the next board into the rabbet of the row below and check it with your level before nailing. Small errors compound quickly, so correct any drift now rather than five rows later.
Step 5: Stagger the Seams
When a row needs more than one board, stagger the joints so they do not line up vertically. A random stagger pattern looks natural and keeps the wall strong.
Step 6: Cut Around Outlets and Switches
Knowing how to install shiplap around outlets matters: turn off power at the breaker before working near outlets. Measure the outlet box location, transfer those measurements to the board, and cut the opening with a jigsaw. Test-fit the board, then trim the opening slightly if needed. Outlet extenders, called box extenders, bring the outlet flush with the new wall surface.
Step 7: Rip the Final Board to Fit
In the final stage of how to install shiplap, the last row rarely fits at full width. Measure the remaining gap at both ends, since walls are seldom perfectly square, and rip the final board to the narrower measurement on a table saw or with a circular saw and straightedge.
Step 8: Fill Nail Holes and Caulk the Edges
Press wood filler into every nail hole with a putty knife, let it dry, and sand it smooth with fine-grit sandpaper. Run a thin bead of paintable caulk along the outer edges, corners, and any gaps between boards and trim.
Step 9: Prime and Paint for a Finished Look
To finish your how to install shiplap project, prime the boards, especially if you used raw pine or MDF, then apply two coats of quality interior paint. A satin or eggshell finish wipes clean easily and suits most living spaces. Reattach outlet covers and switch plates once the paint is fully dry, and step back to enjoy the result.
Finishing Touches That Make It Look Professional
Trim is what turns a good how to install shiplap job into a great one. Add baseboards along the bottom and crown molding or a simple cap board along the top to hide cut edges. Our guide on how to install baseboards covers tight miter cuts, and our guide on how to install crown molding helps with the trickier ceiling angles.
Common Mistakes to Avoid When You Install Shiplap
The most common mistake when learning how to install shiplap is skipping the level check on the first row. A first row that is off by even a quarter inch will look noticeably crooked by the top of the wall. Another mistake is nailing only into drywall instead of studs, which leads to loose boards over time.
How Much Does It Cost to Install Shiplap?
For a standard 8-by-10-foot how to install shiplap accent wall, expect to spend roughly 200 to 600 dollars on boards, fasteners, filler, caulk, primer, and paint. MDF boards sit at the low end, while solid pine costs more.
Compared with hiring a contractor, which can run 1,000 dollars or more for the same wall, doing the work yourself saves substantial money.
Frequently Asked Questions
Can beginners install shiplap themselves?
Yes. A how to install shiplap project is one of the most beginner-friendly wall projects because boards are forgiving, trim hides small gaps, and mistakes are easy to patch with filler and caulk.
Do you need to remove drywall before installing shiplap?
No. When you learn how to install shiplap, you install it directly over drywall in most homes. Just confirm the wall is sound, patch any damage, and nail into studs.
Should shiplap run horizontally or vertically?
In most how to install shiplap projects, horizontal shiplap suits most rooms and makes walls feel wider. Vertical shiplap suits entryways and rooms with low ceilings because it draws the eye upward. Choose the direction that best fits your room, and stay consistent across the whole wall.
What is the best wood for shiplap?
For a how to install shiplap project, pre-primed pine is the best all-around choice for interior walls because it balances cost, durability, and appearance. MDF is cheaper and paints smoothly but swells if it gets wet, so avoid it in bathrooms. For a rustic look, choose knotty pine and a clear stain instead of paint.
How do you clean a shiplap wall?
Dust shiplap regularly with a microfiber cloth or a vacuum brush attachment.
Final Thoughts
Now you know how to install shiplap with confidence, from measuring and finding studs to nailing level rows and painting a flawless finish. Take your time on the first row, keep every row level, and let trim and caulk do the fine finishing work.
For more detail on related techniques, see the This Old House guide to shiplap walls for additional design ideas. Then pick your wall, gather your boards, and enjoy a weekend project that transforms your home for years to come.
Pingback: How to Install Wainscoting: 9 Proven Steps for a Classic Wall Upgrade