That steady drip-drip-drip from your faucet isn’t just annoying — it’s expensive. A faucet leaking at one drip per second wastes more than 3,000 gallons of water per year, according to the EPA’s Fix a Leak Week program. The good news: learning how to fix a leaky faucet is one of the easiest DIY plumbing repairs a homeowner can tackle. Most fixes take under 30 minutes, require only basic tools, and cost less than $20 in parts. This guide walks you through every step, from diagnosis to final test.
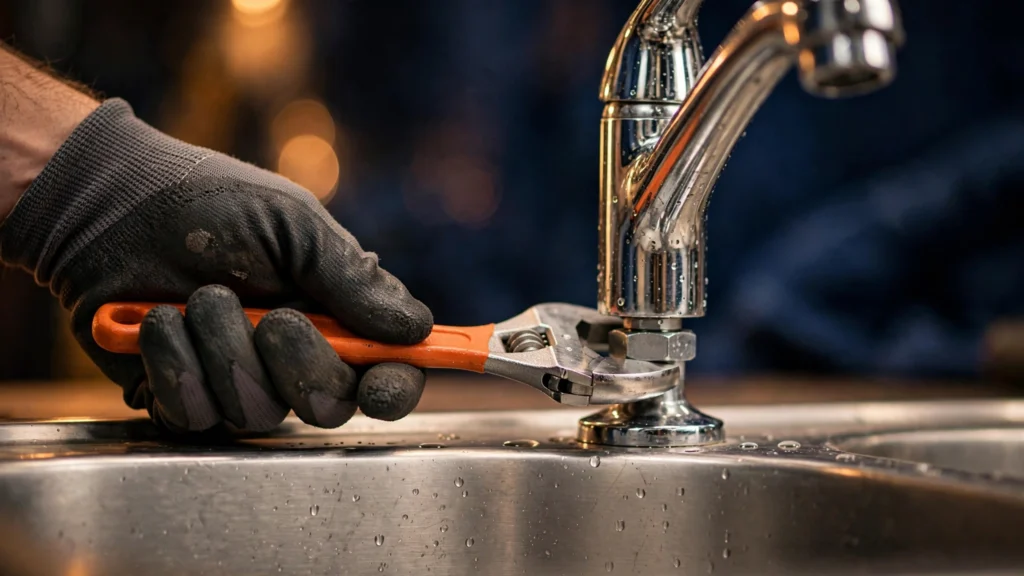
Table of Contents
What Causes a Faucet to Leak?
Before you start taking things apart, it helps to know what’s usually behind the drip. Understanding these common causes will make it easier to learn how to fix a leaky faucet:
- Worn rubber washers or O-rings — the most common culprit, especially in older compression faucets. Rubber hardens and cracks over time.
- A damaged cartridge — single-handle faucets rely on a cartridge to control water flow. When it wears out, water seeps through.
- Corroded valve seat — the valve seat connects the faucet to the spout. Mineral buildup and corrosion here prevent a tight seal.
- Loose or worn seals — seals around the base of the faucet can dry out and let water escape around the handle or spout.
Tools and Materials You’ll Need to Learn How to Fix a Leaky Faucet
You probably own most of these already. Here’s the full list you’ll need for how to fix a leaky faucet:
- Adjustable wrench
- Phillips and flat-head screwdrivers
- Replacement washers, O-rings, or cartridge (remove the old part first and take it to the hardware store to get an exact match)
- Plumber’s grease (a small tube costs a few dollars and lasts for years)
- Towel or rag
- A drain plug or small bowl
Total cost: $5–$20. Compare that to a plumber’s service call, and this repair pays for itself many times over.
How to Fix a Leaky Faucet: Step-by-Step Instructions
Step 1: Turn Off the Water Supply
The first step in learning how to fix a leaky faucet is to look under the sink for the hot and cold shut-off valves — small oval or lever handles on the water lines. Turn both clockwise until they stop completely. If your sink doesn’t have shut-off valves, turn off the main water supply to the house instead. Then open the faucet to release any remaining pressure and drain leftover water from the line.
Step 2: Plug the Drain and Remove the Handle
Close the drain stopper or push a rag into the drain opening. Tiny screws have a talent for disappearing down drains, and this simple precaution saves a lot of frustration. Next, remove the decorative cap on top of the handle — it usually pops off with gentle pressure from a flat-head screwdriver. Unscrew the handle screw underneath and lift the handle straight off.
Step 3: Remove the Cartridge or Stem
Use your adjustable wrench to loosen the packing nut, then pull out the stem (on a compression faucet) or the cartridge (on a single-handle faucet). Pay attention to the order and orientation of every part you remove. A quick photo with your phone at this stage makes reassembly much easier.
Step 4: Replace the Worn Parts
Inspect the washer, O-ring, and valve seat closely. If the washer looks cracked, flattened, or misshapen, replace it with an exact match. For cartridge-style faucets, slide in the new cartridge, making sure it’s oriented the same direction as the old one. Apply a thin coat of plumber’s grease to the O-rings before reinstalling — this helps them seat properly and extends their life.
Step 5: Reassemble and Test
Put everything back together in reverse order. Tighten the packing nut snugly, but don’t overtighten — that can damage the new parts. Turn the water supply back on slowly, then open the faucet and check carefully for leaks around the handle, spout, and base. Run both hot and cold for a few seconds to confirm everything is sealed.
Fixing Different Types of Faucets
Not all faucets work the same way. Here’s how to fix a leaky faucet depending on the type you have:
- Compression faucets (two separate twisting handles): Almost always a worn washer. This is the cheapest and simplest fix.
- Cartridge faucets (single or double handle that moves up/down or side to side): Replace the cartridge with a matching one.
- Ball faucets (single handle, very common in kitchens): Replace the springs, seats, and ball. Inexpensive repair kits (around $10) include everything you need.
- Ceramic disk faucets (single lever, very smooth operation): Extremely reliable — usually all they need is new seals or a quick cleaning of the cylinder.
How Much Does It Cost to Fix a Leaky Faucet?
Doing it yourself costs $5–$20 in parts and about 30 minutes of your time. Hiring a plumber for the same job typically runs $150–$300, depending on where you live. Once you know how to fix a leaky faucet, you’ll never pay for this particular service call again — and the skill transfers to every faucet in your house.
When to Call a Plumber Instead
DIY is great, but know your limits when learning how to fix a leaky faucet. Call a professional if:
- Water is leaking under the sink or inside the wall, not just dripping from the spout
- The shut-off valves are stuck, broken, or missing
- The faucet is so corroded that parts won’t come apart without force
- You’ve replaced the worn parts and it still leaks — this can signal a damaged valve seat or a deeper pipe issue
There’s no shame in calling a pro for the tricky stuff when learning how to fix a leaky faucet. If you’re ever unsure, you can also reach out through our contact page and we’ll point you in the right direction.
Frequently Asked Questions About How to Fix a Leaky Faucet
How do I know what type of faucet I have?
Two separate handles that you twist to turn on are compression faucets. A single lever that lifts or swings is usually a cartridge, ball, or ceramic disk faucet. If you remove the handle and see a cylindrical cartridge, it’s a cartridge faucet; a slotted metal ball means it’s a ball faucet.
Can a leaky faucet really increase my water bill?
Yes — noticeably. A faucet dripping just once per second wastes over 3,000 gallons per year. On metered water, that adds up fast, and it’s pure waste on top of the annoyance.
Do I need to turn off the main water supply to the house?
Usually not. Most sinks have individual hot and cold shut-off valves underneath. Turning those off is enough. You only need the main shut-off if those valves are missing or don’t work.
How long does a faucet repair take?
About 20–30 minutes to learn how to fix a leaky faucet with a standard washer or cartridge replacement, including disassembly, the parts swap, reassembly, and testing. Your first one might take a little longer — that’s normal.
Should I repair or replace an old faucet?
If the faucet is more than 15 years old, heavily corroded, or the finish is worn through, replacing the entire faucet (typically $50–$200 for a good mid-range model) often makes more sense than repairing it. Newer faucets are also more water-efficient.
Final Thoughts
Knowing how to fix a leaky faucet is one of those core homeowner skills that pays off again and again. In about 30 minutes and for the price of a pizza, you can stop the drip, lower your water bill, and skip the plumber entirely. For more step-by-step repair walkthroughs, browse our Plumbing guides — and check back often, because new guides are published regularly.
Pingback: How to Repair Drywall Holes: 7 Proven Steps for Invisible Repairs