Learning how to fix peeling paint starts with one truth: peeling paint is a symptom, not just a cosmetic problem. When paint curls, cracks, or lifts from a wall, moisture, poor preparation, or an incompatible coating has usually broken the bond between paint and surface.
The good news is that most peeling paint is a very fixable weekend project. If you know how to fix peeling paint correctly — removing only loose material, repairing the surface, priming bare spots, and applying two quality coats — you get a smooth finish that stays put for years. This guide covers the process for interior walls and exterior siding.
Table of Contents
Why Paint Peels in the First Place
Before you pick up a scraper, find out what caused the failure. Skip this step and the new paint will often peel in the same place within a year — understanding how to fix peeling paint means fixing the cause, not just covering it up.
Moisture is the number one cause. Indoors, steam from showers, cooking, and laundry pushes through the paint film, especially in bathrooms and kitchens with weak ventilation. Outdoors, leaking gutters, failed caulk, roof leaks, and damp siding let water get behind the paint. Paint applied to a damp surface, or to wood that was not fully dry, is also likely to lift.
Poor preparation is the second major cause. Paint will not stick well to a dirty, dusty, glossy, or greasy surface. Skipping primer on bare wood, fresh drywall, or patched areas is another common mistake, as is painting latex over oil paint without the right primer, or painting in extreme heat or cold when paint cannot cure properly.
Age matters too. After years of expanding and contracting with temperature changes, older paint becomes brittle and starts to crack and peel, especially on sun-beaten exterior walls. Inspect the area first for water stains, soft drywall, mold, and rot. If the wall feels damp or spongy, fix that underlying problem before you repaint — that inspection is part of how to fix peeling paint properly, not an optional extra.
Tools and Materials You Will Need
Gather everything before you begin. To learn how to fix peeling paint properly, you will need: a rigid scraper, a putty knife, 80-grit and 120-grit sandpaper, a wire brush, spackling compound or exterior filler, bonding or stain-blocking primer, matching paint, painter’s tape, drop cloths, a tack cloth, safety glasses, a dust mask, gloves, a ladder, brushes, and a roller with tray.
If your home was built before 1978, test for lead paint before scraping or sanding. Lead paint dust is hazardous, especially for children and pregnant women. If the test is positive, follow EPA lead-safe work practices or hire a certified contractor. Never dry-scrape or dry-sand lead paint.
How to Fix Peeling Paint on Interior Walls
This is the core of the project, and the same sequence works for drywall, plaster, and painted wood trim. Work in small sections and do not rush drying times.
Step 1: Protect the Room and Remove Loose Paint
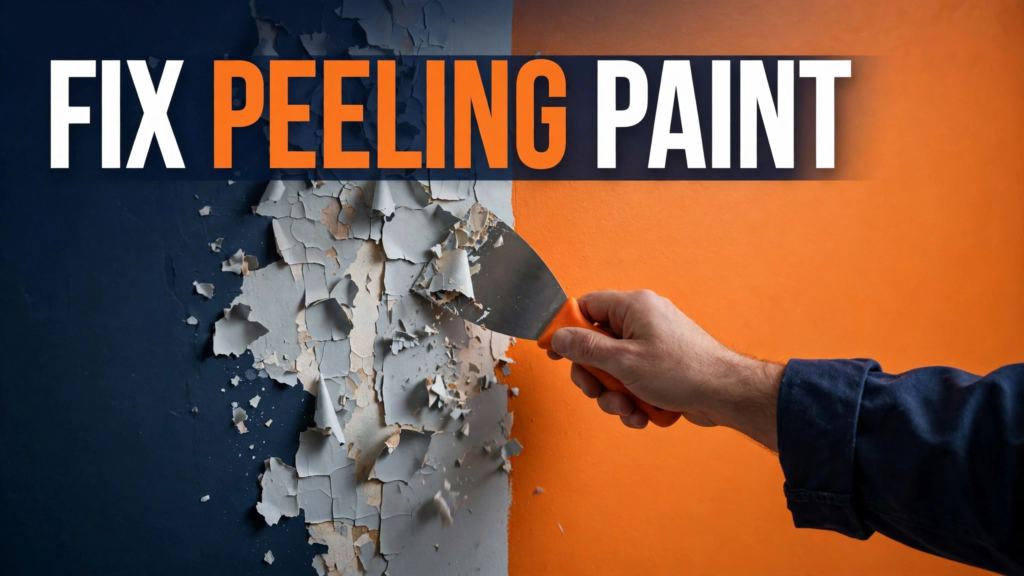
Lay drop cloths over floors and furniture, and tape off trim and outlets. Put on safety glasses and a dust mask. The first real step in how to fix peeling paint is scraping: work a rigid scraper under the curled edge and push gently outward. Remove everything that comes off easily, but stop at paint that is firmly bonded — forcing off sound paint only creates more repair work.
On plaster, work carefully — old plaster can crumble if gouged. On drywall, avoid digging into the paper facing, since torn paper bubbles under new paint. A heat gun on low can soften stubborn patches, but keep it moving so it never scorches the surface.
Step 2: Sand and Feather the Edges
Once loose paint is gone, you will see a hard edge where old paint ends and bare surface begins. Sand it with 80-grit sandpaper until it tapers smoothly into the surrounding paint — this is called feathering — then follow up with 120-grit. The goal is a surface with no ridge you can feel. Vacuum up dust, then wipe with a tack cloth or damp rag; dust left on the surface weakens the primer bond, a detail that matters a lot when you learn how to fix peeling paint for a lasting result.
Step 3: Repair Dents, Cracks, and Gouges
Apply a thin layer of spackling compound over dents, nail holes, or gouges, using a flexible putty knife. Press it firmly in, then scrape off the excess so the patch sits flush. Deep damage may need two thin coats with drying time in between. Once dry, sand smooth with 120-grit and wipe away dust. For more help, see our guide on how to repair drywall holes.
Step 4: Prime Every Bare Spot
Primer is what makes the repair last, and it is a step you cannot skip when you learn how to fix peeling paint. Bare drywall, plaster, wood, and spackling compound absorb paint unevenly, causing flashing — dull patches that show through the topcoat. Brush quality primer over every bare or patched area, extending slightly onto the surrounding paint, and use a stain-blocking primer for water stains. Let it dry fully, usually one to three hours.
Step 5: Paint Two Thin Coats
Cut in the edges with a brush, then roll in a “W” pattern, working in sections about three feet wide. Apply the first coat thinly and evenly — thick coats dry unevenly and crack more easily. Let it dry fully, usually two to four hours, then apply a second coat the same way. Two thin coats are the professional standard in how to fix peeling paint work, giving far better coverage and durability than one heavy coat. Remove painter’s tape while the final coat is still slightly tacky for the cleanest line.
How to Fix Peeling Paint on Exterior Surfaces
Exterior work follows the same principles, with extra considerations. The exterior version of how to fix peeling paint starts with the weather: work on a dry, mild day, ideally 50 to 85 degrees Fahrenheit, out of direct sun and wind. Paint applied to a hot surface or just before rain will not bond properly.
Fix the moisture source first: clean clogged gutters, re-caulk gaps around windows and trim, and repair roof leaks. Then scrape, sand, and feather the edges as indoors, using a wire brush on rough wood or masonry. Prime bare wood with exterior-grade primer, then apply two coats of quality exterior paint. For trim and siding, a paint sprayer speeds things up — our guide on how to use a paint sprayer covers setup and technique.
Common Mistakes to Avoid
- Painting over loose paint instead of scraping it first — new paint bonds to the failing layer and peels off with it.
- Skipping primer on bare spots, which soak up paint unevenly and fail early.
- Painting over a damp or dirty surface; moisture and dust both destroy adhesion.
- Applying one thick coat instead of two thin ones; thick coats crack, sag, and cure poorly.
- Ignoring the moisture source — if a bathroom has no exhaust fan or a gutter keeps overflowing, peeling returns.
- Using interior paint outdoors; exterior paint flexes with temperature changes and resists weather.
Anyone learning how to fix peeling paint should treat this list as a checklist: avoid these six mistakes and your repair will last much longer.
How to Keep Paint From Peeling Again
Prevention is mostly moisture control and good preparation. Run bathroom exhaust fans during and after showers, use a dehumidifier in damp basements, and keep indoor humidity between 30 and 50 percent. Outside, keep gutters clean, keep soil and mulch six inches below siding, and re-caulk windows and trim every few years.
Use quality paint and primer, and follow the label’s temperature and drying-time instructions. Cheap paint may save money up front but typically fails sooner and costs more in rework. When you repaint a whole room or the exterior, proper prep — cleaning, sanding glossy surfaces, and priming — is what separates a five-year paint job from a fifteen-year one, and that routine is the long-term side of how to fix peeling paint for good. For more on lasting finishes, see our guide on how to install baseboards. For a broader overview of paint failures, This Old House’s guide to common paint problems is a useful reference: https://www.thisoldhouse.com/painting/6-common-paint-problems-how-to-fix-them
Frequently Asked Questions
Can I just paint over peeling paint?
No. Painting over peeling paint is the most common cause of repeat failure: the new coat sticks to the loose old paint, not the wall, so it peels off in the same place. If you want to know how to fix peeling paint so it stays fixed, always start by scraping off everything loose, feathering the edges, priming, and then repainting.
Do I need to remove all the paint, or just the loose parts?
Just the loose parts. That is the practical rule in how to fix peeling paint: if the surrounding paint is firmly bonded, smooth, and clean, leave it in place. Feather-sand the edges so the repair blends in, prime the bare spots, and paint over the whole area.
What causes paint to peel in a bathroom?
Moisture is almost always the cause. Without a working exhaust fan, bathroom steam pushes through the paint film. Fix ventilation first, then repair the paint, and use a bathroom-rated paint that resists moisture and mildew.
How long does a peeling paint repair take?
A single wall patch takes a few hours of active work spread over a day, because primer and paint need drying time between coats. A full room or exterior wall can take a weekend — most of that is waiting for coats to dry.
When should I call a professional?
Call a pro if peeling covers a large area, if you suspect lead paint, if there is mold, rot, or structural water damage, or if the work is high on an exterior wall. A pro can also help if the moisture problem needs plumbing or roofing repairs.
Final Thoughts
Knowing how to fix peeling paint is one of the most useful homeowner skills, because peeling paint is so common and so preventable. The process is straightforward: find and fix the cause, scrape off what is loose, feather the edges, repair the surface, prime the bare spots, and finish with two thin coats of quality paint. Each step matters, and that discipline is what knowing how to fix peeling paint successfully comes down to.
Take your time with preparation, respect drying times, and choose good materials. Done right, your repair will blend invisibly into the wall and stay smooth for years.