If you have ever snapped a bolt, stripped a thread, or wondered whether a nut was tight enough, learning how to use a torque wrench will change the way you work on your home and your car. A torque wrench is the only common hand tool that tells you exactly how tight a fastener is — in foot-pounds or inch-pounds — so you stop guessing and start fastening to the manufacturer’s specification.
Most do-it-yourselfers overtighten almost everything they touch. That extra muscle feels reassuring, but it is the number-one cause of warped brake rotors, cracked castings, broken studs, and stripped threads. In this guide, you will learn how to use a torque wrench step by step, from picking the right type and dialing in the torque value to tightening in sequence and storing the tool so it stays accurate for years.
Table of Contents
Why Learning How to Use a Torque Wrench Matters
Torque is twisting force, and nearly every bolted joint in your home and vehicle has a torque specification — a number, set by the manufacturer, that tells you exactly how much twisting force that fastener needs. Too little torque and the joint works loose from vibration. Too much and you stretch the bolt, crush the gasket, or crack the part you are fastening.
A standard ratchet gives you no feedback at all. You pull until it feels tight, and “feels tight” varies wildly from person to person. A torque wrench removes the guesswork. When you reach the set value, a click-type wrench clicks, a beam wrench’s needle hits the mark, and a digital wrench beeps or flashes. Mastering how to use a torque wrench means trusting the click, not your wrist.
Homeowners reach for a torque wrench more often than they expect: lug nuts after a tire rotation, a new lawn mower blade, flat-pack furniture hardware, a wall-mounted TV bracket, and the bolts on a deck ledger board. Once you know how to use a torque wrench, you will wonder how you ever trusted your wrist alone.
Types of Torque Wrenches: Pick the Right One
Before you learn how to use a torque wrench, pick the right type. The four main designs cover different budgets and jobs.
Click-type (micrometer) torque wrench.
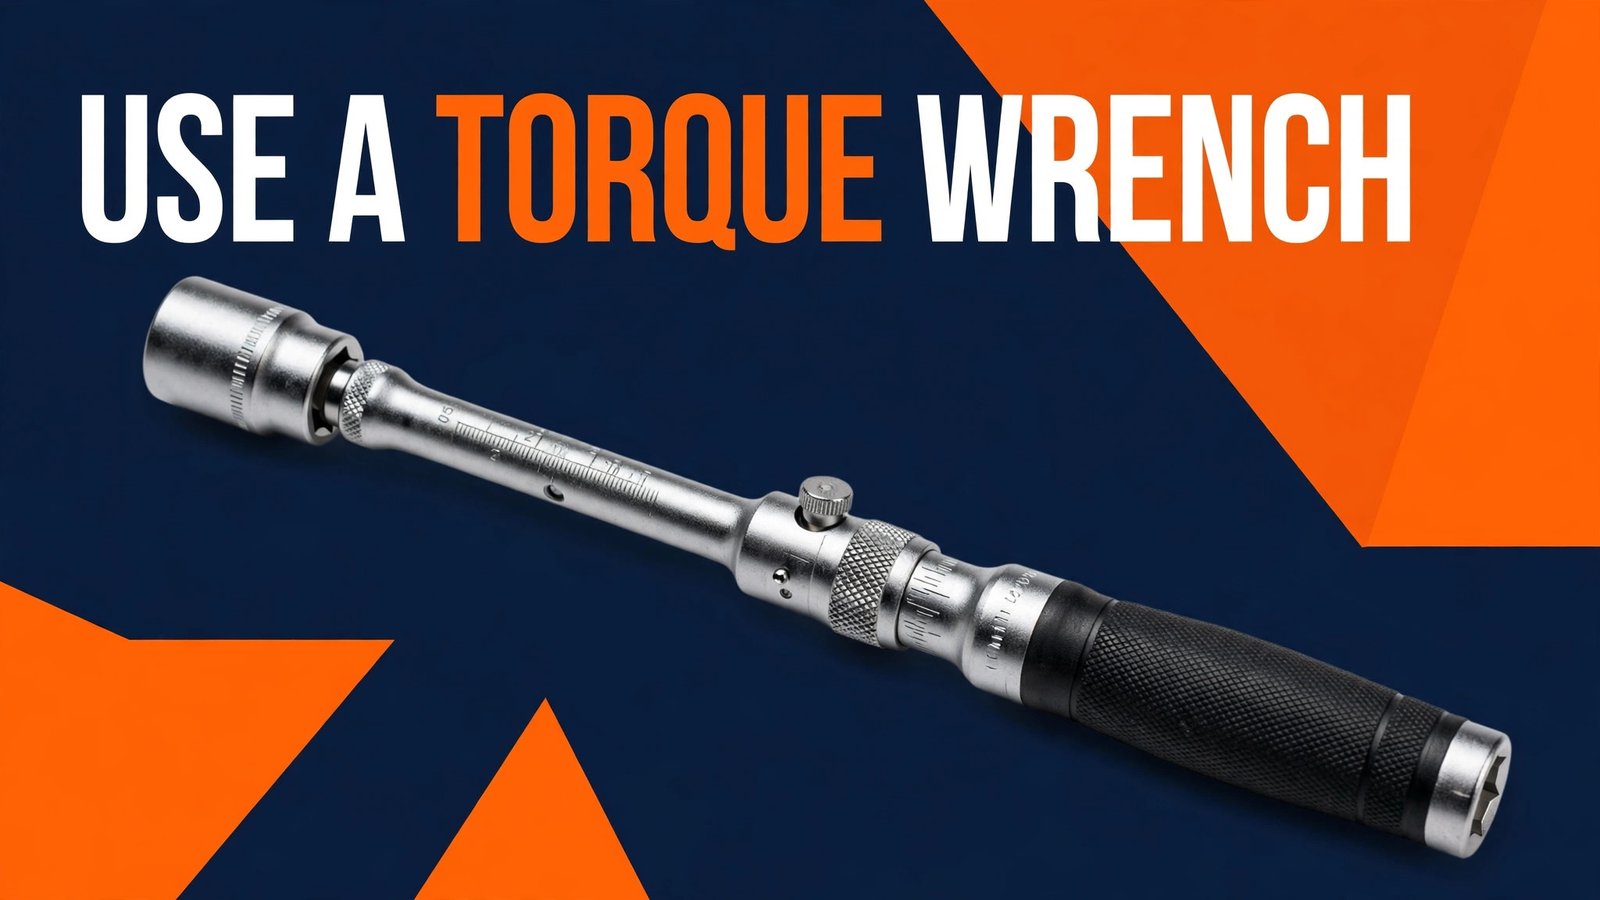
The most popular choice for homeowners. You twist the handle to set the torque value on a scale, then pull until you feel and hear a click. For most homeowners learning how to use a torque wrench, a click-type model is the best first buy: accurate, easy to read, and available in 3/8-inch and 1/2-inch drive sizes. A 1/2-inch drive model covering 20 to 150 foot-pounds handles most automotive and household jobs.
Beam (deflecting beam) torque wrench.
The simplest and cheapest design. A needle points to the torque value on a scale as the beam bends. Beam wrenches never need calibration and last for decades, but you must read the scale from directly above the needle, which is awkward in tight spaces.
Digital torque wrench.
The most precise option. A digital display shows the live torque value, and the wrench beeps or vibrates at the target. Digital models are excellent but cost two to four times more than a click-type wrench, so they are overkill for most homeowners.
Dial torque wrench.
A dial gauge shows the applied torque with a memory needle that stays at the peak reading. Dial wrenches are accurate and popular in professional shops, but they are fragile and expensive for occasional home use.
For a first torque wrench, buy a click-type model in 1/2-inch drive with a range of about 20 to 150 foot-pounds. If you also work on small engines, bicycles, or delicate fasteners, add a smaller 3/8-inch drive inch-pound wrench later.
What You Will Need
Before you learn how to use a torque wrench on your first job, gather these items so you are not hunting for tools with greasy hands:
- A click-type torque wrench in the right drive size and torque range
- The correct socket for your fastener (deep-well sockets for long studs)
- The manufacturer’s torque specification from your owner’s manual, a shop manual, or the equipment maker’s website
- A wire brush and clean rag for cleaning threads
- A standard ratchet and breaker bar for loosening and initial snugging
- Safety glasses and work gloves
Never use your torque wrench to loosen fasteners or to break stuck bolts free. That job belongs to a breaker bar. Using a torque wrench as a breaker bar damages the internal mechanism and ruins its calibration.
How to Use a Torque Wrench in 9 Proven Steps
Follow these nine steps in order every time you pick up the wrench. The sequence matters: skipping the setup steps is how fasteners end up over- or under-torqued.
Step 1: Find the Torque Specification
Look up the manufacturer’s torque value before you touch a single bolt. Your car’s owner’s manual lists lug nut torque, and your lawn mower, snow blower, or deck hardware manual lists the values for those fasteners. If you cannot find the spec, search the manufacturer’s website or a reputable repair manual. Never guess a torque value — the whole point of learning how to use a torque wrench is to fasten to a real number, not a feeling.
Step 2: Choose the Right Wrench and Socket
Match the wrench’s torque range to the job. When learning how to use a torque wrench, remember your target value should fall in the middle of the wrench’s range, not at the very bottom or top, where accuracy drops off. Attach the correct socket and confirm it seats fully on the fastener. A loose or wrong-size socket rounds off bolt heads and gives false readings.
Step 3: Set the Torque Value
On a click-type wrench, loosen the lock at the base of the handle, then twist the handle until the scale shows your target value. Most wrenches read in foot-pounds on one side and Newton-meters on the other — make sure you are reading the correct scale. If your spec is in inch-pounds, divide by 12 to convert to foot-pounds, or use an inch-pound wrench. Tighten the lock again once the value is set. Reading the wrong scale is the most common mistake when learning how to use a torque wrench.
Step 4: Clean the Threads
Brush dirt, rust, and old thread locker off the bolt threads and the mating surface. Clean threads give accurate torque readings; dirty or damaged threads add friction that fools the wrench into clicking early. Do not lubricate the threads unless the manufacturer specifically instructs you to, because oil changes the friction and therefore the clamping force at a given torque reading.
Step 5: Snug the Fastener by Hand
Thread the nut or bolt on by hand first, then snug it with a standard ratchet. This step protects the threads from cross-threading and brings the joint into contact before the torque wrench takes over. The first lesson in how to use a torque wrench is that it is a precision measuring tool, not a speed tool — never use it to run a fastener down from loose.
Step 6: Apply Torque Smoothly and Steadily
Hold the torque wrench by its handle grip, not by the head or the socket. Pull with a smooth, steady motion until you hear and feel the click. Pulling smoothly is the core skill in how to use a torque wrench correctly. Do not jerk the wrench or keep pulling after the click — one click means you have reached the target, and continuing to pull over-torques the fastener. If you are unsure whether you heard the click, release the pressure, reset, and pull again slowly.
Step 7: Tighten in Two Stages
For any job with a torque spec above about 20 foot-pounds, tighten in two stages. First, set the wrench to half the final torque and tighten every fastener to that value. Then reset the wrench to the full specification and tighten each fastener to its final value. This two-stage approach seats gaskets and mating surfaces evenly, and it is one of the most important habits when you learn how to use a torque wrench on multi-bolt joints.
Step 8: Follow the Correct Tightening Sequence
When a joint has multiple fasteners — lug nuts, a mower blade housing, a flange — tighten them in a crisscross or star pattern, not in a circle. A star pattern pulls the parts together evenly and prevents warping. For lug nuts, that means tightening opposite nuts in turn; for a four-bolt flange, tighten the top bolt, then the bottom, then the left, then the right.
Step 9: Reset the Wrench to Zero When You Are Done
After your final click, always dial a click-type torque wrench back to its lowest setting — usually zero or the minimum value on the scale, never below zero. Leaving the wrench wound up compresses the internal spring and throws off its calibration over time. Resetting to zero is the final step in how to use a torque wrench properly, and the single best habit for keeping it accurate.
Common Mistakes When Learning How to Use a Torque Wrench
Even experienced DIYers make these errors the first time they learn how to use a torque wrench. Watch for them on every job.
- Pulling past the click. The click is the stop signal. Continuing to pull after it defeats the entire purpose of the tool and over-torques the fastener.
- Using the wrench to loosen bolts. A torque wrench measures tightening force. Loosening with it — especially on a stuck bolt — damages the mechanism and voids the calibration.
- Dropping the wrench. A single fall can knock a torque wrench’s accuracy off by as much as 30 percent. If you drop it, have it recalibrated before trusting it again.
- Ignoring the units. Foot-pounds and inch-pounds differ by a factor of 12. Setting 50 on an inch-pound scale when you meant foot-pounds leaves a joint dangerously loose, and the reverse snaps bolts.
- Skipping the two-stage tighten. Going straight to full torque on a multi-bolt joint loads one side before the other, which warps flanges and gaskets.
- Storing it wound up. A wrench left at a high setting loses calibration as its spring stays compressed. Always reset it to zero after use.
How to Store and Care for Your Torque Wrench
A torque wrench is a precision instrument, so treat it like one. Store it in its case, in a dry place, with the setting dialed back to zero. Wipe it clean after use and keep it away from moisture and extreme heat. Never use it as a hammer, a pry bar, or a breaker bar.
Have your torque wrench recalibrated once a year if you use it regularly, or after any drop or heavy use. Even if you rarely use it, knowing how to use a torque wrench includes knowing when it needs a check-up. Many tool shops and calibration services offer this for a modest fee, and some manufacturers recalibrate their own wrenches under warranty. A calibrated wrench is a trustworthy wrench — and the whole point of knowing how to use a torque wrench is trusting the number it gives you.
Frequently Asked Questions
How do I know what torque setting to use?
Always use the manufacturer’s specification from the owner’s manual, a shop manual, or the equipment maker’s website. For lug nuts, most passenger cars specify 80 to 100 foot-pounds. If you cannot find a spec, do not guess — contact the manufacturer or a qualified mechanic.
Can I use a torque wrench to loosen bolts?
No. A torque wrench is designed to measure tightening force only. Use a breaker bar or a standard ratchet to loosen fasteners, then switch to the torque wrench for the final tightening pass. That is a core rule of how to use a torque wrench safely.
How accurate is a click-type torque wrench?
A quality click-type torque wrench is typically accurate to within plus or minus 4 percent when it is properly calibrated and the target falls in the middle of its range. Accuracy drops near the ends of the range, which is why you should choose a wrench whose range centers on your usual jobs.
Do I need to calibrate my torque wrench?
Yes, periodically. A torque wrench should be recalibrated once a year with regular use, and immediately after being dropped. Storing it at zero between uses slows calibration drift, but it does not eliminate it entirely.
What is the difference between foot-pounds and inch-pounds?
Both measure torque. One foot-pound equals 12 inch-pounds. Foot-pounds are used for larger fasteners such as lug nuts and engine bolts, while inch-pounds are used for small fasteners on bicycles, small engines, and electronics. Always confirm which unit your specification uses before setting the wrench — mixing up units is a classic beginner error when learning how to use a torque wrench.
Final Thoughts
Learning how to use a torque wrench is one of the highest-value skills a homeowner can pick up. It takes five minutes to learn, costs less than a single stripped-thread repair, and protects everything from your car’s wheels to your lawn mower’s blade. Find the spec, set the wrench, snug by hand, pull smoothly to the click, tighten in sequence, and reset to zero when you are done. That is how to use a torque wrench the right way, every single time.
If you are building out your home tool kit, start with a quality 1/2-inch drive click-type wrench and add a smaller inch-pound model when you need it. Pair it with the other core tools in your collection — see our guides on how to use a multimeter, how to use a heat gun, and how to choose a cordless drill. For a deeper look at torque wrench technique and care, the Family Handyman guide on how to use a torque wrench is an excellent companion reference.
Now that you know how to use a torque wrench, grab your wrench, look up your spec, and torque it right the first time.