Learning how to flush a water heater is one of the smartest maintenance moves a homeowner can make. Every tank-style water heater collects sediment over time as dissolved minerals — mostly calcium and magnesium — settle to the bottom of the tank. That gritty layer forces your heater to work harder, heats water more slowly, and can shorten the life of the tank by years.
The good news: flushing a water heater is a simple DIY job that takes about an hour and requires only basic tools. In this guide, we’ll show you how to flush a water heater in seven easy steps, from shutting off the power safely to draining the tank, clearing sediment, and refilling the system. Homeowners who learn how to flush a water heater once rarely skip it again.
Table of Contents
Why Sediment Builds Up in Your Water Heater
Every gallon of water entering your home carries dissolved minerals. When that water is heated inside the tank, the minerals precipitate and sink, forming a layer of sediment on the tank floor. Homes with hard water see this happen faster, but no tank is immune. ENERGY STAR water heater guidance notes that regular maintenance keeps these systems running efficiently and extends their service life — and a yearly flush is one of the highest-impact tasks on that list.
A thin dusting of sediment is harmless, but an unchecked layer acts like insulation between the burner or heating elements and the water. Your heater must then run longer and hotter to deliver the same hot water, which shows up on your energy bill. Sediment also causes rumbling or popping sounds as trapped water boils beneath it, and it can clog fixtures over time. Once you understand what sediment does, learning how to flush a water heater feels less like a chore and more like cheap insurance.
7 Signs It’s Time to Flush Your Water Heater
Not sure whether your tank needs attention? Watch for these warning signs — if two or more sound familiar, learning how to flush a water heater should jump to the top of your home maintenance list:
- Rumbling or popping noises from the tank, especially during heating cycles.
- Hot water runs out faster than it used to — sediment is stealing tank capacity.
- Longer recovery times between hot showers.
- Rusty or cloudy hot water coming from your taps.
- Noticeably weaker hot water pressure at faucets and showerheads.
- Rising energy bills with no change in your household’s hot water use.
- More than a year since the last flush — the calendar alone is reason enough.
This is when knowing how to flush a water heater pays off: a tank flushed at the first signs of sediment almost always bounces back to full efficiency, while one that runs for years on a thick sediment bed can suffer permanent damage.
Tools and Materials You’ll Need
Gather everything before you start so you aren’t hunting for a hose with the tank half drained. Everything you need to learn how to flush a water heater is inexpensive and probably already in your garage:
- Garden hose long enough to reach a floor drain, utility sink, or a downhill spot outside
- Bucket for the last drips
- Adjustable wrench or pliers
- Flathead screwdriver (for older drain valves)
- Work gloves and safety glasses
- Old towels for drips
That’s the whole kit — no specialty tools are required to master how to flush a water heater at home.
Safety First: Power, Gas, and Scalding Precautions
Water heaters store gallons of scalding water and run on high-voltage electricity or combustible gas, so treat safety as step zero. For an electric heater, switch off its dedicated breaker at the main panel. For a gas heater, turn the control knob to ‘pilot’ (or fully off, per your owner’s manual) — never drain a tank while the burner is firing. Then let the water cool for several hours, ideally overnight — it can exceed 140°F.
Wear gloves and safety glasses, keep kids and pets clear of the work area, and never work in standing water around an electric unit. If you smell gas at any point, stop immediately, leave the area, and call your gas utility’s emergency line. Just as you’d cut power before servicing a furnace — our guide on how to clean a furnace flame sensor covers similar lockout basics — de-energizing the water heater first makes learning how to flush a water heater calm and safe.
How to Flush a Water Heater in 7 Easy Steps
Set aside about an hour. The procedure below shows exactly how to flush a water heater on standard 40- and 50-gallon tank heaters, gas or electric — just work through the steps in order.
Step 1 – Shut Off the Power or Gas Supply
Confirm the breaker is off (electric) or the gas valve is set to pilot (gas). Give the tank a few hours to cool if you haven’t already — patience here is the single most important safety factor when you learn how to flush a water heater the right way.
Step 2 – Close the Cold Water Inlet Valve
Find the cold water supply line entering the top of the heater and turn its shutoff valve clockwise until it stops. This keeps fresh water from refilling the tank while you drain it — a detail every tutorial on how to flush a water heater includes for good reason.
Step 3 – Connect a Garden Hose to the Drain Valve
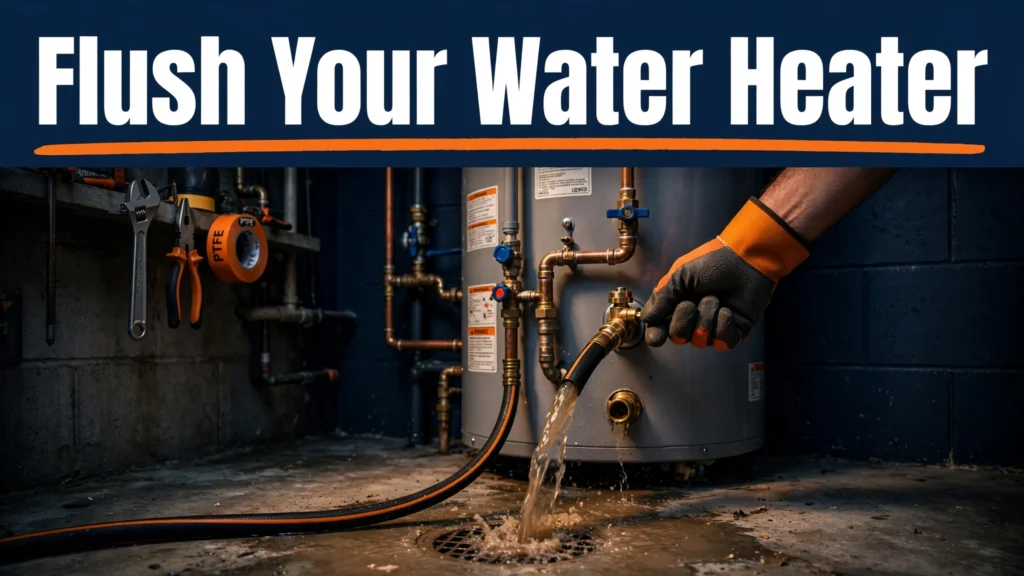
Thread a garden hose onto the drain valve near the base of the tank and run the other end to a floor drain, laundry sink, sump pit, or outside. Keep the hose as straight as possible and secure it so it can’t whip when the flow starts. If your basement depends on a pump to move water out, confirm it’s working first — see our walkthrough on how to maintain a sump pump.
Step 4 – Open a Hot Water Faucet
Head inside and open a hot water tap — a laundry or basement sink is ideal. This lets air into the plumbing so the tank drains smoothly instead of glugging and stalling halfway.
Step 5 – Open the Drain Valve and Empty the Tank
With your gloves on, slowly open the drain valve. Hot, discolored water will surge through the hose at first — that’s completely normal. Let the tank drain fully, which takes 20–40 minutes depending on tank size and sediment level.
Step 6 – Power-Flush the Remaining Sediment
Once the flow stops, briefly reopen the cold water inlet for 10–15 seconds to stir up the sediment coating the tank floor, then let it flush out through the hose. Repeat this on-off flushing two or three times until the water runs clear. This agitation step is the secret behind truly effective results when you learn how to flush a water heater — skipping it leaves the worst of the grit behind. Close the drain valve tightly and disconnect the hose.
Step 7 – Refill the Tank and Restore Heat
Leave the indoor hot tap open and turn the cold water inlet back on. When water flows steadily from the tap with no sputtering, the tank is full and the air is purged — close the tap. Then restore power at the breaker, or turn the gas valve back on and relight the pilot following your manual’s instructions. Allow 30–60 minutes for the water to reheat. Take your time here: rushing the refill is the most common mistake people make when learning how to flush a water heater.
Refilling and Restarting: Post-Flush Checks
Before you call the job done, inspect the drain valve and cold water inlet for drips and snug them gently with a wrench if needed. One critical rule for electric models: never restore power until you are certain the tank is completely full — an exposed upper element can burn out in seconds, turning free maintenance into a repair bill. Getting the refill sequence right is just as important as knowing how to flush a water heater in the first place.
How Often Should You Flush a Water Heater?
Once a year is the standard recommendation from most manufacturers — and it’s the interval that keeps sediment from ever becoming a real problem. Households with hard water (look for white scale on faucets and showerheads) should flush every six months, while homes with a water softener can usually stick to the annual schedule. Tie the task to something memorable, like the start of heating season, and pair it with other plumbing prep — for example, reviewing how to thaw frozen pipes before the first deep freeze. A simple calendar reminder turns this into a habit that can add years to a tank’s typical 8- to 12-year lifespan.
Frequently Asked Questions
Can I flush a water heater myself?
Yes — learning how to flush a water heater is well within DIY reach if you can operate a garden hose and a wrench. The keys are shutting off the energy source, letting the water cool, and making sure the tank refills completely before restoring power. If anything about the gas valve or pilot assembly makes you nervous, call a licensed plumber — there’s no shame in getting help with gas.
How long does it take to flush a water heater?
Plan on about an hour of hands-on time plus a few hours of cooling beforehand. Draining takes 20–40 minutes; the power-flush cycles and refill add another 20. Reheating takes 30–60 minutes after you restore power or gas.
Could flushing damage an old, neglected water heater?
On a very old tank — 10-plus years — that has never been flushed, disturbing heavy sediment can occasionally expose pinhole leaks the sediment was effectively plugging. For tanks under 10 years old, flushing is safe and strongly recommended.
Do tankless water heaters need flushing too?
They need descaling rather than tank flushing: a small pump circulates vinegar or descaling solution through the heat exchanger. It’s a different procedure with its own kit, worth doing annually in hard-water areas to protect flow rate and efficiency.
What if the drain valve is clogged with sediment?
Try working a piece of wire into the valve opening to break up the plug, or briefly crack the cold inlet to push water through. If the valve crumbles or stays blocked, replace it — a brass ball valve resists clogging far better than stock plastic.
Final Thoughts
Knowing how to flush a water heater is one of those homeowner skills that pays for itself many times over. An hour a year keeps sediment from stealing efficiency, quiets noisy operation, and helps your tank reach — or exceed — its full lifespan. If this guide helped you learn how to flush a water heater, share it with a neighbor — sediment doesn’t discriminate.
Pingback: How to Install a Water Softener: 9 Easy Steps for Softer Water
Pingback: How to Clean a Washing Machine: 9 Proven Steps for a Fresh, Odor-Free Washer
Pingback: Water Heater Replacement: Costs, Sizing & the Tank vs Tankless Verdict