If you are tired of spotty dishes, soap that will not lather, and white scale crusting up your faucets, learning how to install a water softener is one of the highest-value DIY plumbing projects you can take on. Hard water — loaded with calcium and magnesium — quietly damages pipes, water heaters, and appliances.
The good news: once you install a water softener correctly, you can enjoy softer water throughout the whole house within a day. A metered unit also cuts salt and water use dramatically versus old timer-based models. This guide walks you through how to install a water softener step by step, from picking the right spot to programming the control valve, so you can finish safely in a single weekend.
Table of Contents
What a Water Softener Does (and When You Need One)
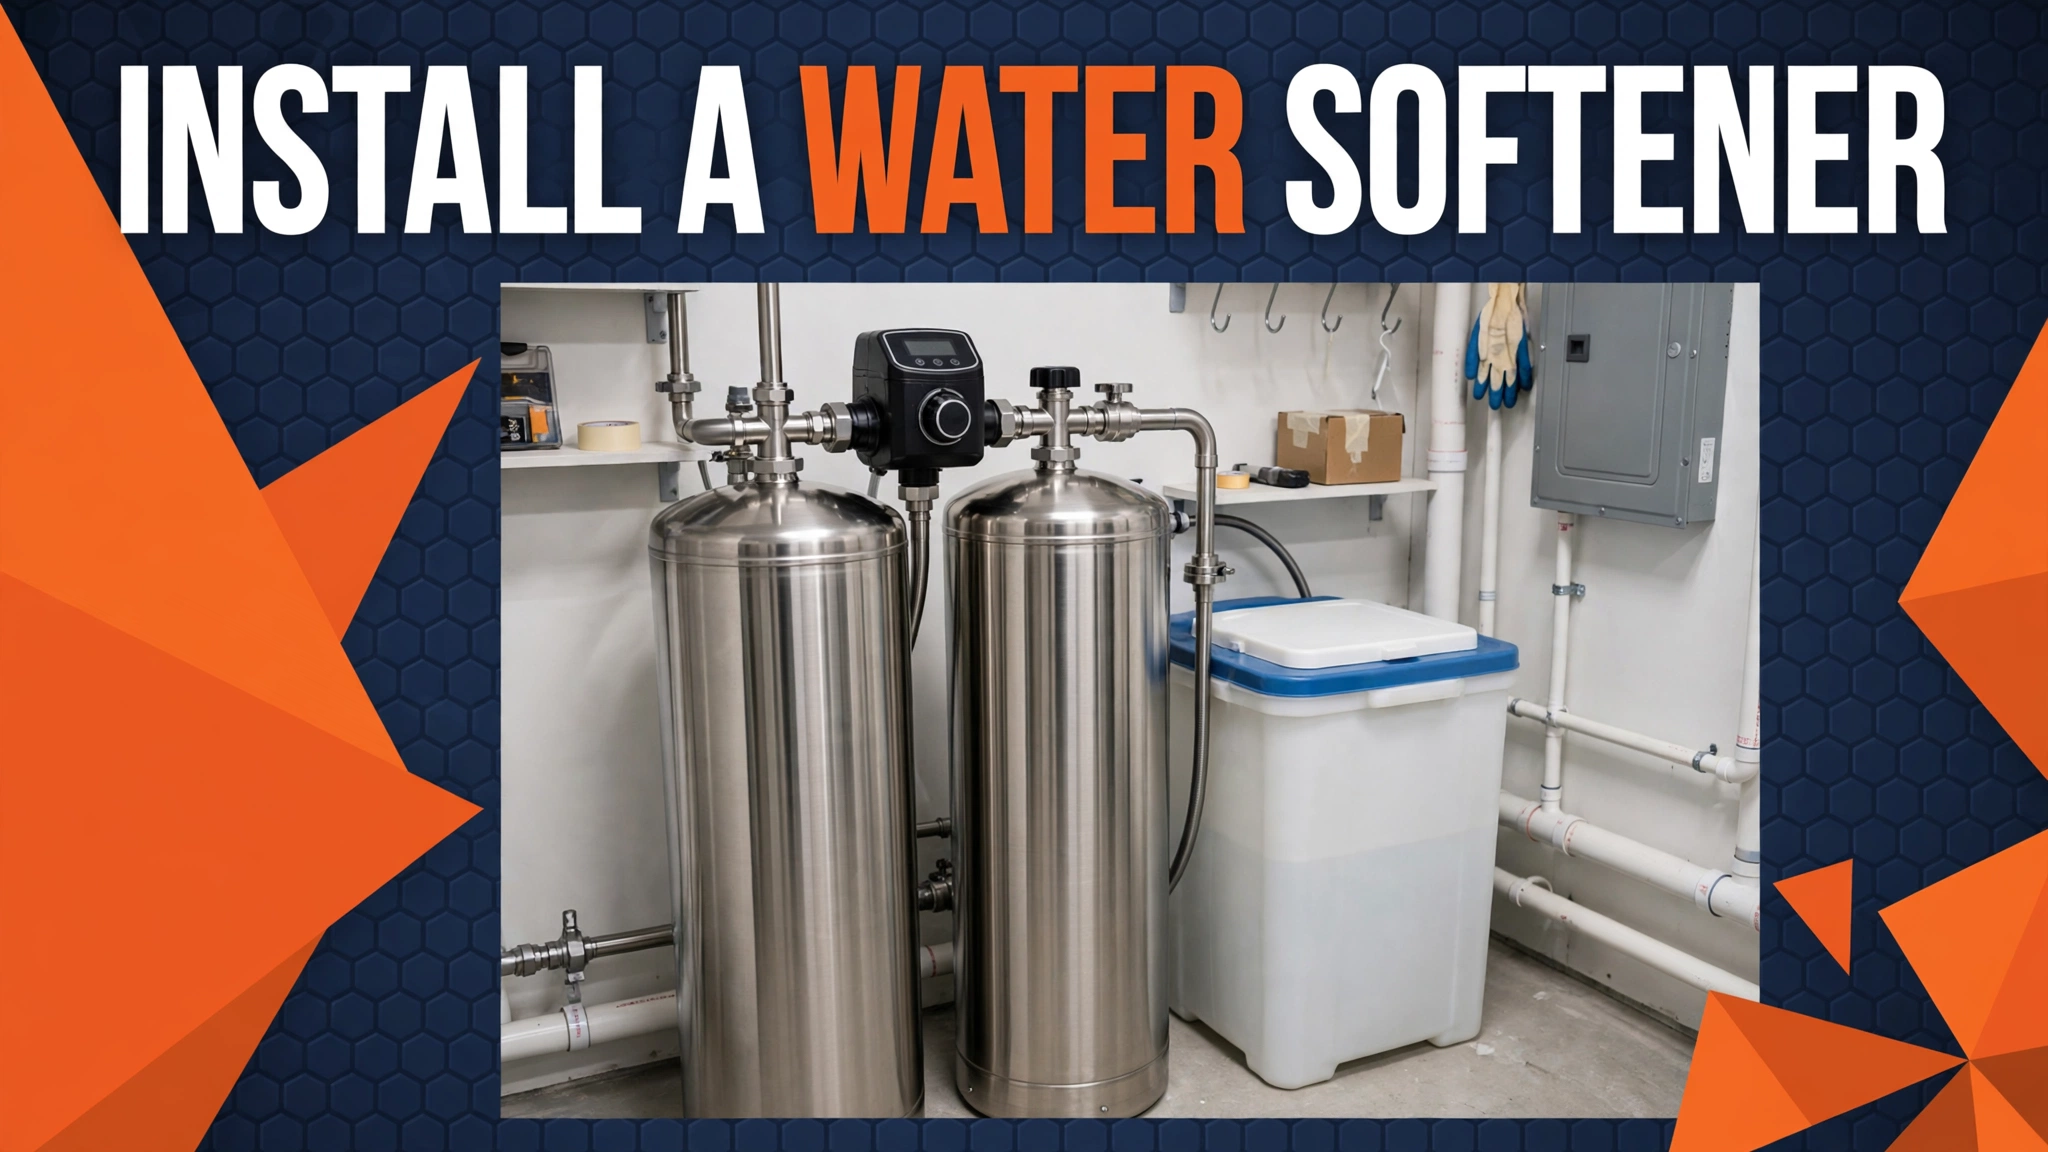
A water softener uses ion exchange to pull hard-water minerals out of your water. Hard water flows through a resin tank of resin beads, which grab calcium and magnesium ions and swap them for sodium or potassium ions. Periodically, the system regenerates: the control valve flushes the resin with brine from the salt tank, restoring capacity and sending captured minerals down the drain.
You likely need one if you notice white scale on faucets and showerheads, soap scum that never rinses away, soap that will not lather, spotty glassware, dull laundry, or dry, itchy skin after showering.
A test strip or lab water test confirms hardness in grains per gallon (gpg). Anything above 7 gpg is hard, and most homeowners learn how to install a water softener once hardness passes 8 to 10 gpg.
Tools and Materials You’ll Need
Before learning how to install a water softener for real, gather everything so you do not stall with the main line cut open: the softener system sized for your home, a pipe cutter, adjustable wrenches and channel-lock pliers, a soldering torch and solder (copper) or PEX crimp tool, matching pipe and fittings, Teflon tape, an air gap fitting with plastic drain tubing, hose clamps, a bucket and towels, salt or potassium chloride for the brine tank, plus a level and tape measure.
On sizing: a 32,000 to 48,000-grain unit suits most 3 to 4 bedroom homes — check your hardness and household size against the manufacturer’s chart, since an undersized unit wastes salt on constant regenerations. Also verify local code first: some areas require a permit, and many restrict salt-based discharge into septic systems.
How to Install a Water Softener: 9 Easy Steps
Step 1 — Pick the Right Location
The first decision when learning how to install a water softener is placement. The ideal spot is where the main cold-water line enters the house, before it branches to the water heater, so every fixture gets softened water. The location should be level, dry, freeze-protected, near a drain, and within reach of a grounded outlet for the control valve. Keep the brine tank accessible for adding salt, and leave clearance to service the valve head.
Step 2 — Shut Off the Water and Drain the Pipes
Turn off the main water supply at the meter or the main shutoff. If you have an electric water heater, kill its power at the breaker first. Open the lowest and highest faucets to drain pressure from the lines. Keep a bucket handy — residual water always escapes when you cut into the main.
Step 3 — Cut Into the Main Cold-Water Line
Measure and mark where the softener will connect. With a pipe cutter, make clean, straight cuts to remove a section long enough for the bypass valve assembly and fittings. Deburr the edges, and sand copper ends lightly if soldering. Dry-fit elbows and adapters to confirm alignment before making permanent connections.
Step 4 — Install the Bypass Valve
Most softeners ship with a bypass valve — install it per the manufacturer’s instructions. Understanding the bypass is central to how to install a water softener correctly: it lets you route water around the system during maintenance. Double-check the flow arrows — INLET connects to the incoming hard-water side, OUTLET to the house side. Reversed inlet and outlet is the most common reason a new softener “does not work.”
Step 5 — Connect the Inlet and Outlet Pipes
Connect the incoming main line to the valve’s inlet port and the house-side line to the outlet port. Solder copper joints (or crimp PEX) with clean, fluxed joints, then wipe them down. Use Teflon tape on threaded connections and tighten with wrenches — never overtighten plastic fittings. Strap the pipe runs so the valve is not carrying the plumbing’s weight. Getting the joints right is the plumbing core of how to install a water softener safely.
Step 6 — Run the Drain Line With an Air Gap
The drain setup matters as much as the pipework when learning how to install a water softener. Run plastic tubing from the valve’s drain port to an approved drain — a standpipe, floor drain, or laundry sink. Most codes require an air gap (the tube ending a couple of inches above the drain) to prevent backflow contamination. Strap the line so it cannot slip out, kink, or siphon. If your valve has a second drain port for the brine line, route that tubing the same way.
Step 7 — Set Up the Brine Tank
Set the brine tank beside the resin tank and connect the brine line between the control valve and the tank’s brine well, per the diagram. Run the overflow tubing to a safe drain as backup. Add salt or potassium chloride to the marked level, then add the initial water charge (about 4 gallons) so the system can make brine for the first regeneration.
Step 8 — Program the Control Valve
Plug the control head into a grounded outlet — never an extension cord. Program the valve per the manual: time, hardness in grains per gallon, capacity, and regeneration mode. Choose metered (demand-initiated) regeneration if available — it only regenerates when usage demands it, saving salt and water. Schedule regenerations around 2 a.m. so they never interrupt your day.
Step 9 — Pressurize, Test, and Run the First Regeneration
The final step in how to install a water softener correctly is the shakedown. Set the bypass valve to service and slowly open the main supply — gradual opening prevents pressure surges that can damage the resin bed. Check every joint for leaks as the system fills, and bleed air at a nearby cold faucet until water runs clear. Run one full regeneration cycle, watching the drain for strong flow. Afterward, soap should lather noticeably better. Recheck all connections after 24 hours.
Programming and Start-Up Settings That Matter
Settings separate a softener that sips salt from one that guzzles it. Enter your true hardness from a water test (not a guess), set capacity to the manufacturer’s efficient-salt recommendation, and use metered regeneration over a fixed timer. Richer lather and disappearing scale within a week confirm the settings are right. If spots return, re-check the hardness input first.
Common Mistakes When Learning How to Install a Water Softener
- Reversed inlet and outlet — always follow the flow arrows on the valve body.
- No air gap on the drain line — a code violation and backflow risk in most areas.
- Opening valves too fast — sudden pressure can damage the resin bed on first fill.
- Skipping the permit check — some jurisdictions require a plumbing permit for this work.
- Undersized unit — it regenerates constantly and wastes salt.
- Softener after the water heater — the heater still scales up, since hot-water lines bypass the softener. The unit must sit on the cold feed before the heater. Flush sediment first with our guide: How to Flush a Water Heater.
These are the errors DIYers make most often in how to install a water softener projects — avoiding them keeps this a one-day job.
Caring for Your Softener After Installation
Check the brine tank’s salt monthly and refill before it drops below a quarter full — running dry forces extra regenerations. Clean the tank yearly to prevent salt bridging, where a crust above the waterline stops brine production. Test hardness once or twice a year, and plan on replacing resin beads every 10 to 15 years. With basic upkeep, a well-installed softener protects plumbing and appliances for a decade or more — and keeps banging pipes and low water pressure from scale buildup at bay.
Frequently Asked Questions
Can I learn how to install a water softener myself?
Yes — learning how to install a water softener is well within reach for a DIYer with basic plumbing skills; plan on 3 to 6 hours. You need to be comfortable cutting into the main water line and making watertight connections, and you must follow local code for the drain line’s air gap. If local code requires a licensed plumber for main-line work, hire a pro for that portion.
How long does it take to install a water softener?
Once you know how to install a water softener, most DIY jobs take 3 to 6 hours including the first regeneration cycle. A pre-plumbed softener loop (a dedicated loop some builders install near the main entry) can cut that to under two hours. A professional typically needs 2 to 4 hours.
Where should I put the unit?
The standard how to install a water softener placement is where the main cold-water line enters the house, before the water heater. The spot must be level, freeze-protected, near a drain, and close to a grounded outlet. Garages, basements, and utility rooms are the most common locations.
Do I need a permit?
It depends on your area. Many municipalities treat this as minor plumbing work needing no permit, but some require one, and certain regions restrict salt-based discharge into septic systems. Call your local building department before you start — it takes five minutes and avoids fines.
How much does it cost?
DIY costs run $500 to $1,500 for the unit plus $50 to $250 in fittings and valves. Professional installation adds roughly $300 to $1,500 depending on complexity. Metered units cost more upfront but save significantly on salt and water over time.
Final Thoughts
Knowing how to install a water softener puts one of the most rewarding whole-house upgrades firmly in DIY territory. Get the location right, respect the flow arrows on the bypass valve, give the drain line its air gap, and program the control head with your real hardness number.
Do that, and you will be rewarded with softer water, longer-lasting appliances, and lower soap bills for years. Run that first regeneration cycle, check for leaks at the 24-hour mark, and enjoy the difference. Doing the how to install a water softener job yourself also saves hundreds over a professional install. For more authoritative guidance, see This Old House’s whole-house water softener installation guide.
Pingback: Water Heater Replacement: Costs, Sizing & the Tank vs Tankless Verdict